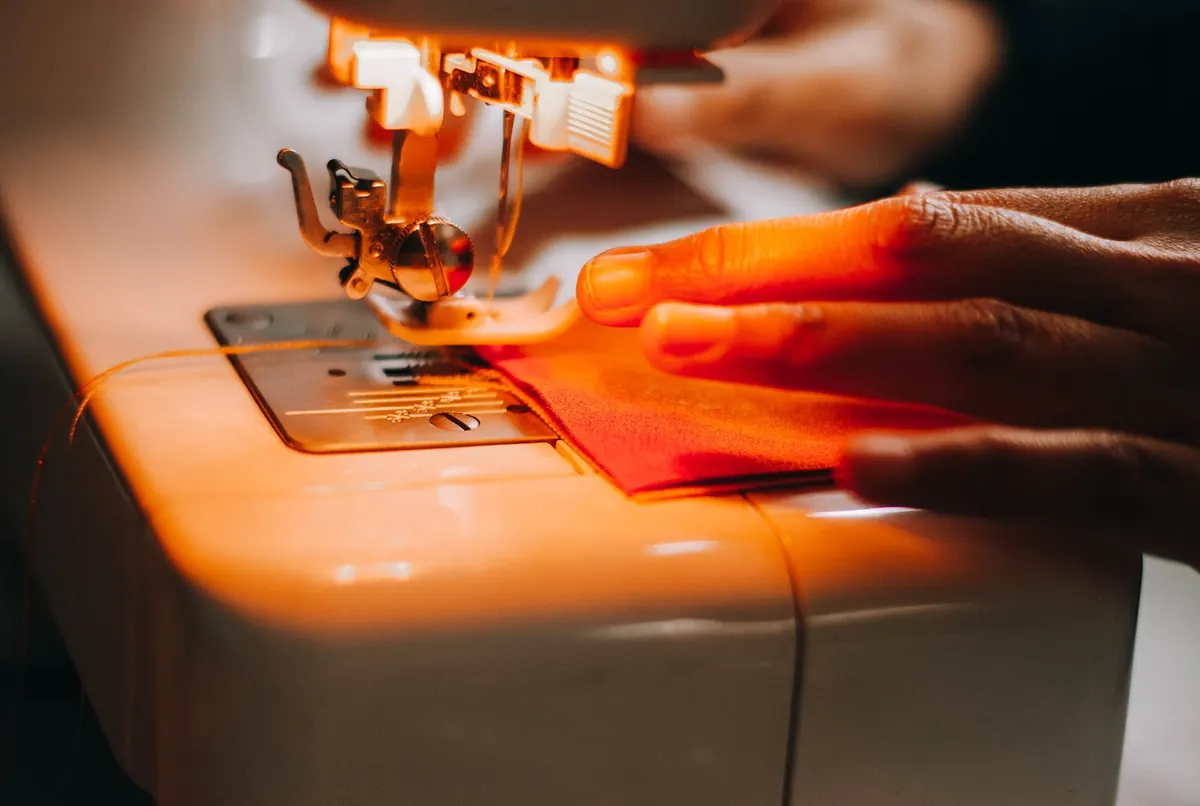
A Beginner's Guide to Applique: Techniques, Fabrics and Stitches
Applique is the straightforward idea that has kept textile craft alive for centuries: cut a shape from one piece of fabric, stitch it onto another, and carry on. That is it. A felt leaf on a cushion, a letter on a library bag, a denim patch over a worn knee, the curving stems on a quilt — same principle, different levels of polish. The appeal is that you can start with a scrap bag, a needle and an evening, and end up with something that looks deliberate.
What follows is the beginner's route through the three methods you will meet most often, the fabrics that behave, and the handful of stitches that do most of the work.
Applique, Piecing and What You Are Actually Doing
Applique means one fabric sits on top of another and is held there by stitching. Piecing — patchwork — is different: it joins fabrics edge to edge like a jigsaw. Both turn up in quilts, often in the same quilt, and it is worth knowing which one you are looking at. If you can see the outline of a shape, that is applique.
The stitching is not just decoration. It is what stops the edge fraying, keeps the shape flat and stops it shifting in the wash. Even a shape held down with fusible web needs a line of stitching if the finished item will be washed or handled.
The Three Main Methods
Raw-edge applique
You cut the shape and stitch it as it is, edge exposed. Fast, forgiving and slightly rustic — and the edges will fray a little with washing, which is either the charm or the problem depending on the project. It suits felt, flannel, denim, wool and any fabric that does not fray much, and it is the natural choice for a first attempt. Use a close blanket stitch or a narrow zigzag so the edge is caught firmly. For letters and thin shapes, shorten your stitch length; an exposed edge on a thin stem can fray away in a few washes.
Turned-edge applique
Here the seam allowance is folded under before stitching, so the finished shape has a smooth, crisp outline with no raw edge in sight. Traditional quilters do this by needle-turning — holding the allowance under with the needle tip as they sew, a few millimetres at a time. Others prepare the shape first with a freezer-paper template and a dab of liquid starch, press the allowance around it, then peel the paper out and stitch the prepared shape down with a slip stitch. It takes longer, but it is tidier, hardier and genuinely lovely to do once your fingers know the rhythm.
If a folded edge will not sit flat, it is almost always because the allowance is too wide. Trim it, rather than tugging at the fabric.
Fusible web
Fusible web is a sheet of heat-activated adhesive. You trace your shape onto the paper side, iron it to the wrong side of the fabric, cut out, peel off the backing paper and press the shape onto the background. It holds everything flat and still while you stitch, which makes fiddly shapes and small pieces far easier. Two things to remember: trace the shape in reverse if it is not symmetrical, and expect the web to stiffen the fabric slightly — use a lighter weight web for anything that needs to drape. In the UK it is usually sold as Bondaweb or under similar names, in weights from light to heavy.
Choosing Fabric That Behaves
Almost anything can be appliqued, but the fabric you choose decides how much frustration is involved. A few rules cover most situations:
- Tight-weave cotton is the easiest place to start. Quilting cotton, poplin and shirt-weight cotton fray slowly, press flat and take a needle well.
- Felt, flannel, wool and boiled wool barely fray at all, which makes them perfect for raw-edge work.
- Avoid loose weaves and heavy stretch knits for your first projects. If you must use a jersey, iron a piece of lightweight fusible interfacing to the back first to steady it.
- Pre-wash anything that will be washed later. Cotton shrinks. A shape cut from unwashed fabric and stitched to washed fabric can pucker.
- Test dark, hand-dyed or richly printed fabrics for bleeding by pressing a damp white cloth against them. Colour that transfers to the cloth will transfer to your background fabric in the wash.
- Press with a little starch before cutting. Stiff fabric holds a folded edge far better than limp fabric.
The Stitches That Do the Work
Hand or machine, a small set of stitches covers everything:
- Blanket stitch — the classic hand-applique edge. Work it from the background into the shape, with the vertical bar about 4–5 mm tall and the stitches evenly spaced. It covers a raw edge neatly and looks good in either matching or contrasting thread.
- Slip stitch — near-invisible, used to sew down a turned edge. Take the needle into the fold of the shape and back out through the background, keeping the stitches small.
- Running stitch — the quickest way to hold a shape down, either as a basting step or as a deliberately simple finish.
- Machine straight stitch — work it just inside the raw edge, about 3 mm in, with a short stitch length.
- Zigzag or machine blanket stitch — a firm, fast way to seal a raw edge. Use a tear-away stabiliser behind the background fabric so it does not pucker.
- Satin stitch — dense, solid and decorative, best reserved for short outlines and shapes that will not be washed hard.
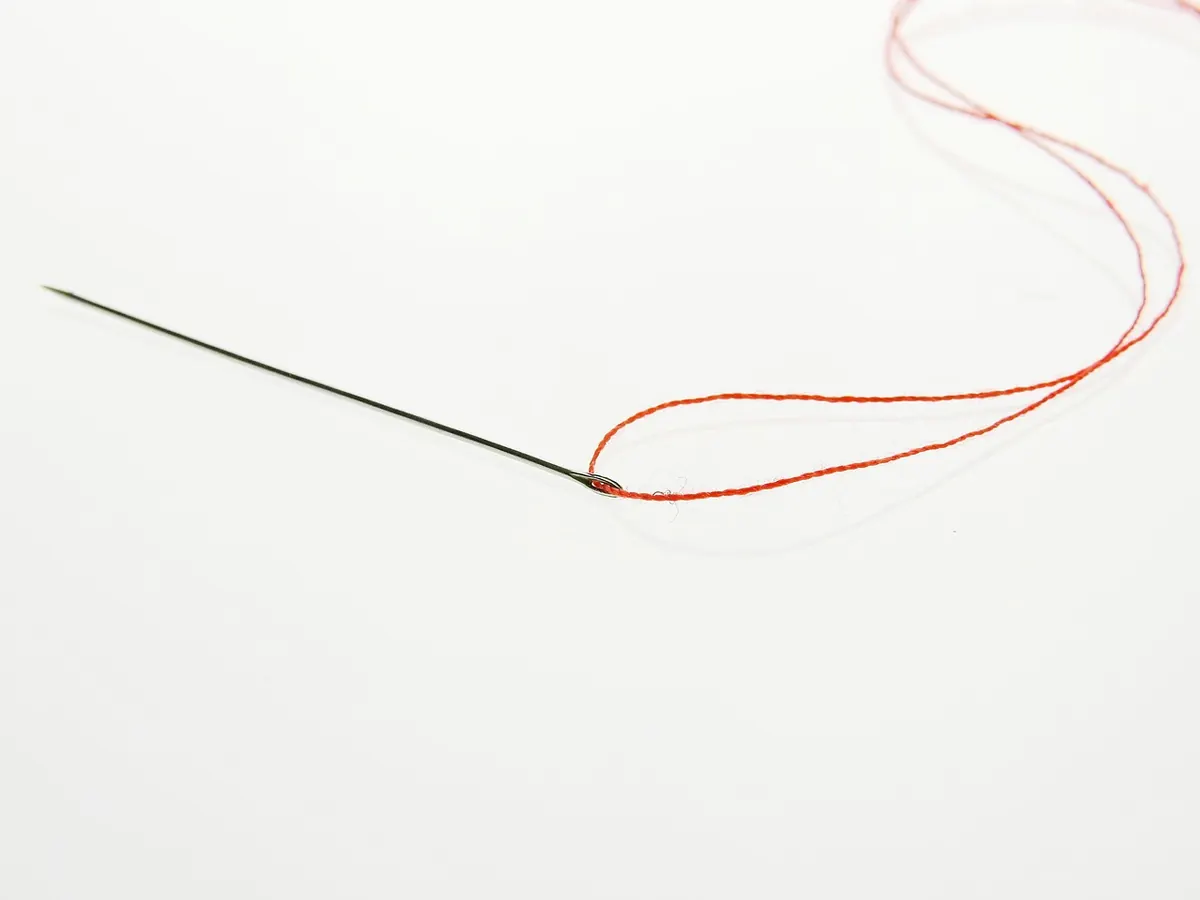
Thread matters less than you think. A fine cotton thread in a shade that matches the shape disappears; one that contrasts becomes part of the design. For hand work, a needle with a slightly larger eye and a shorter shank saves your fingers.
Your First Shape, Step by Step
- Draw or print a simple shape — a heart, a leaf, a circle no smaller than 6 cm across. Tiny shapes are harder than they look.
- Decide on your method. Raw edge for felt or denim, fusible web for anything fiddly, turned edge if you want a clean finish.
- Cut a template from card or template plastic. If you are turning the edge, add a 5 mm allowance; if you are fusing, cut on the line.
- Position the shape on the background. Fold both in half and press a crease to find the centre, or hold them against a window to see through.
- Pin or baste. A few well-placed pins beat a hundred, and basting thread beats pins on curves.
- Stitch all the way round in one direction, keeping your tension even. On inside corners, stop with the needle down and pivot.
- Press from the back, on a folded towel, so the shape sits flat without flattening the stitching.
Start Small and Finish Something
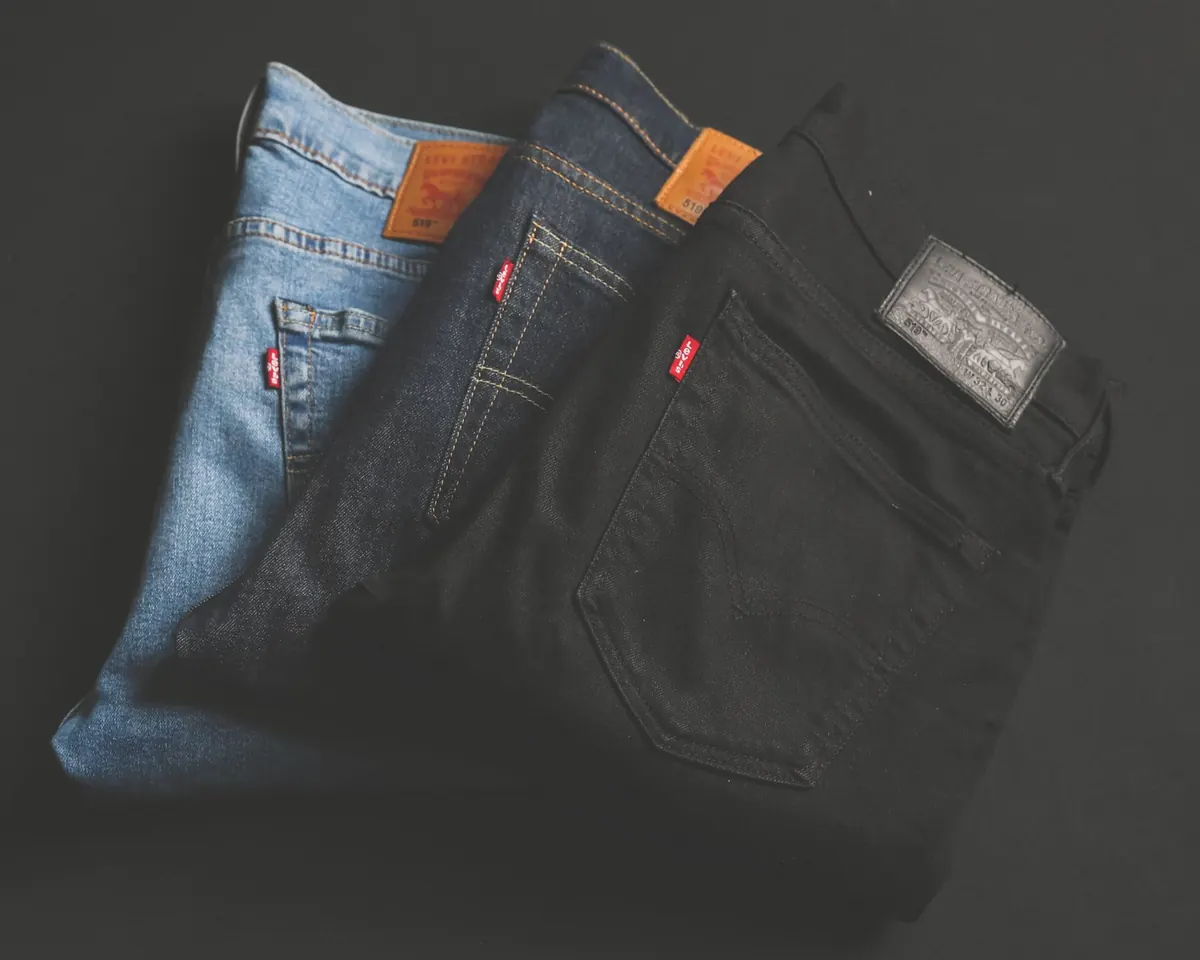
The best advice for a first applique project is to make it small enough to finish in an evening. A 20 cm cushion front, a patch for a pair of jeans, a bookmark with a single letter. You will learn more from one completed object than from three abandoned ambitious ones, and the small scale means mistakes stay cheap.
Keep that first piece, even if the stitches wobble. Applique is a hand skill, and hands learn by repetition. By the third shape your blanket stitch will be even, your curves will lie flat, and you will already be planning the next one.
Photo: rakhmat suwandi / Pexels
You Might Also Like
A complete list of sewing supplies for attaching patches, from needles and thread to thimbles and scissors, plus beginner-friendly tips for a neat, secure finish.
How UK Scout groups, Guide units and sports clubs can design, size and place custom patches that fit the uniform and last for years.