How to Choose the Right Backing for Embroidered Patches: Iron-On, Sew-On or Velcro
A patch can look perfect on a proof and still disappoint on the garment, usually because of the backing. The front gets all the attention: thread colours, stitch density, border style. The back decides whether the patch sits flat, survives a wash, or lifts at one corner a fortnight later. Iron-on, sew-on and Velcro are the three main options, and each suits a different fabric and a different kind of use.
Start with the fabric, not the patch
Backing choice follows the surface the patch will live on. Adhesive needs a smooth, flat, heat-tolerant face to bite into. Loose weaves and napped fabrics give it almost nothing to grip. Coated and waterproof shells can be marked by an iron and will not bond reliably. Stretch fabrics move under the glue joint.
- Smooth cotton, denim, canvas, twill: heat-friendly and ideal for iron-on.
- Polyester and nylon sportswear: heat-sensitive, so sew-on is safer.
- Fleece, towelling, chunky knit: too textured for adhesive; sew-on.
- Waterproof shells: sew-on, then deal with the needle holes.
- Leather and suede: sew-on only. Heat marks the surface permanently.
- Anything washed hard and often: sew-on, or Velcro so you can remove the patch first.
Iron-on backing: fast, flat and fussy about heat
An iron-on patch carries a heat-activated adhesive film on the back. Applied properly to the right fabric it gives a clean, stitch-free finish and takes a couple of minutes per patch.
Getting the bond right
- Set the iron to a temperature the garment can genuinely take, with steam switched off.
- Position the patch, then cover it with a thin cotton cloth or press cloth.
- Press firmly for roughly 20 to 30 seconds, lifting and repositioning the iron rather than sliding it around.
- Turn the garment inside out and press the back of the patch where you can reach it.
- Let everything cool completely before lifting an edge to check.
Where iron-on lets you down is in the laundry. Hot washes, tumble drying and dry cleaning all stress the adhesive, and corners catch on seat belts, bags and door frames. Once the glue has been through a few heat cycles it can also leave a grey, tacky mark if you later remove the patch.
If a patch will be worn hard, treat the iron-on bond as the first fix and a few discreet stitches at the corners as insurance.
Sew-on backing: the one that lasts
A sew-on patch comes with a plain or lightly stabilised back, and it will usually outlast the garment. It is the sensible answer for workwear, uniforms, knitwear, leather, delicate vintage pieces and anything that sees regular washing. There is no heat risk and no glue to fail.
Sewing tips that make it easier
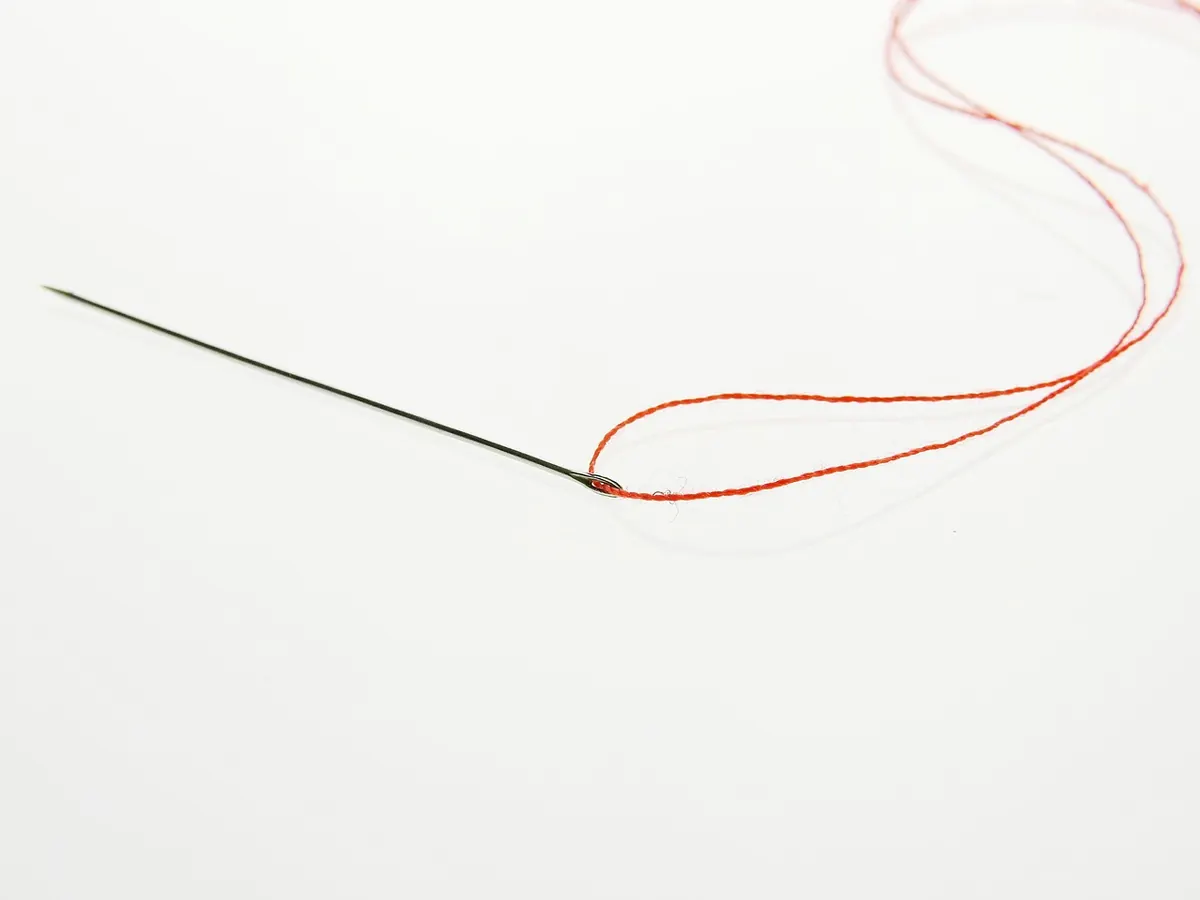
- Use doubled polyester thread and a needle that suits the fabric, not just the patch.
- A curved needle transforms sleeves, trouser legs and cap fronts.
- Whip stitch or blanket stitch around a merrowed border for a neat, deliberate finish.
- For invisible stitching, work tiny stab stitches through the embroidered border where the fabric is densest.
- Finish with two or three back stitches on the inside, out of sight.
Two things to weigh up. On waterproof gear every needle hole is a potential leak, so plan to seal the stitching or have it done professionally. And removal leaves needle holes: they close up in dense cotton, but they stay visible in coated and technical fabrics.
Velcro backing: for patches that move
Hook-and-loop backing splits the job in two. The patch carries one half, the garment carries the other, usually as a sewn-on panel. In most setups the patch has the stiff hook side and the garment has the softer loop panel, which keeps the panel comfortable against the body. It is the standard for morale patches, airsoft kit, workwear, caps and bags.
The trade-offs to plan for
- A loop panel adds bulk and a little stiffness, which shows on lightweight shirts and cap fronts.
- The hook side grabs lint, pet hair, knitwear and loose threads, and it scratches if it turns against skin.
- The panel still has to be attached, and sewing it on is far more reliable than ironing it.
- Cheap Velcro loses grip quickly, and any brand weakens once fluff builds up, so brush it clean occasionally.
- Separating it is loud. Worth knowing if you work somewhere quiet.
Matching backing to the job
- Cotton T-shirt: iron-on is fine, plus corner stitches on a favourite.
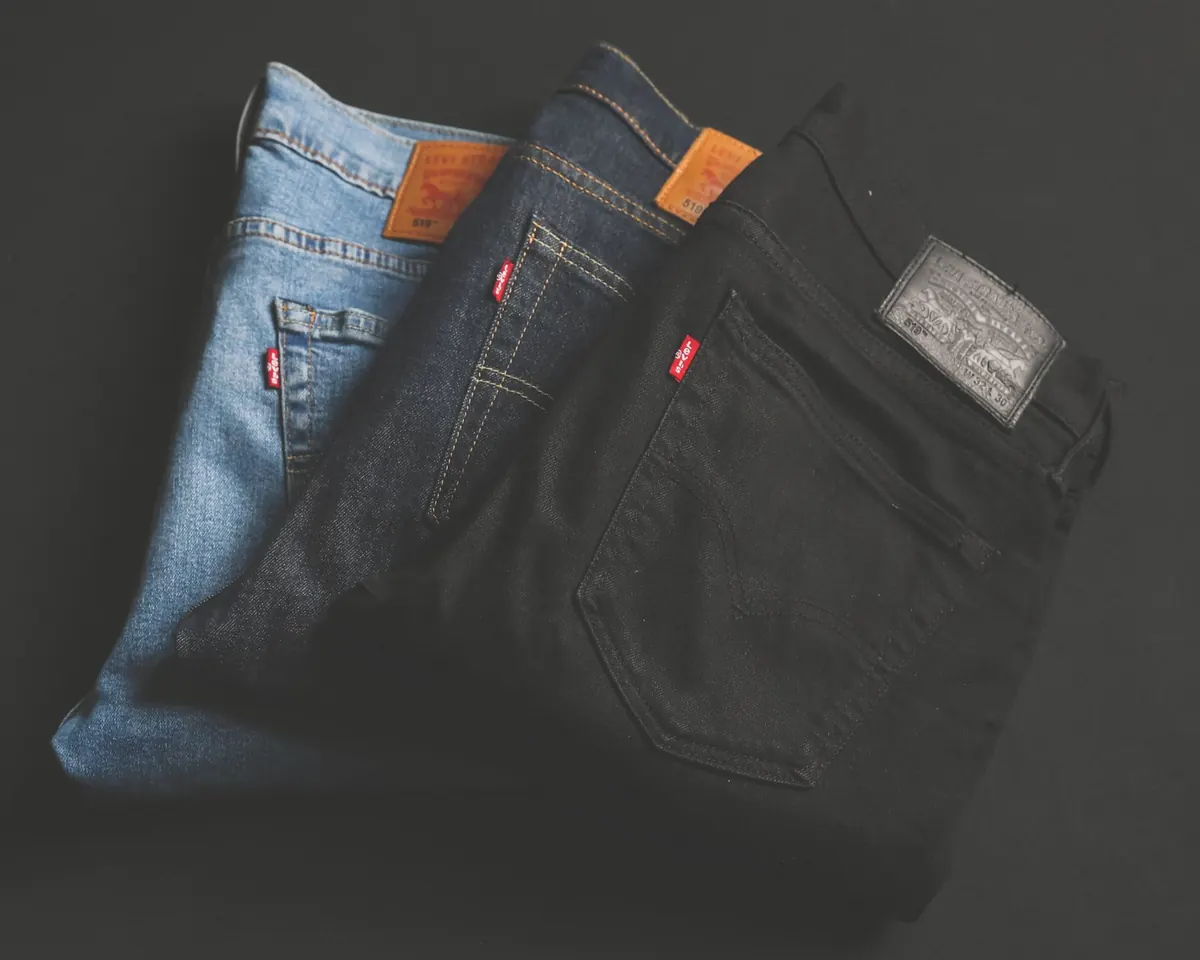
- Denim jacket or canvas workwear: iron-on with discreet stitches, or straight sew-on.
- Fleece and chunky knit: sew-on.
- Leather or suede: sew-on only.
- Waterproof shell: sew-on, then seal the stitch holes.
- Weekly sports kit: sew-on, or Velcro so you can strip the patch before washing.
- Uniforms and caps: Velcro if the patch changes, sew-on if it does not.
- Collecting and swapping: Velcro.
- Delicate or one-off items: hand sew it, slowly.
Ordering tips so you get it right first time
Backing is chosen when the patch is made, not afterwards, so decide before you order and mention the garment it is destined for.
- Specify the backing explicitly: iron-on, sew-on or Velcro, and ask for the loop panel if you need one.
- You can order iron-on and still stitch it. Adhesive does not stop a needle.
- Keep the backing paper that arrives with iron-on patches to protect your iron and board.
- Never iron directly onto the embroidered face; metallic threads and synthetics scorch or flatten.
- Peel-and-stick backing exists and suits temporary or indoor use, but it is not a long-term answer for anything that gets washed.
A quick decision path
Run these in order and the answer usually appears by question three.
- Can the fabric take a hot iron? If not, rule out iron-on.
- Is the surface smooth and flat? Fleece, towelling and loose knits mean sew-on.
- Will it be washed often or worn hard? Favour sew-on, or reinforce iron-on with stitches.
- Do you want to change the patch later? Velcro.
- Is the item delicate, expensive or a one-off? Hand sew it.
When you are genuinely unsure, sew-on is the safe answer: it works on every fabric, it survives the wash, and it can be undone without a sticky residue. Iron-on is the tidy shortcut for smooth cottons. Velcro is the right call when the patch needs a life of its own.
Photo: Mnz / Pexels
You Might Also Like
A complete list of sewing supplies for attaching patches, from needles and thread to thimbles and scissors, plus beginner-friendly tips for a neat, secure finish.
How UK Scout groups, Guide units and sports clubs can design, size and place custom patches that fit the uniform and last for years.