Sewing Supplies You Need for Attaching Patches: A Complete List
Attaching a patch looks like a five-minute job until you sit down with a blunt needle and thread that keeps snapping. The right supplies turn a fiddly task into a tidy, secure finish. Whether you are stitching a custom patch onto a denim jacket, a uniform, or a canvas bag, this list covers what you need and why it matters.
The Essential Sewing Kit for Patches
A basic hand-sewing kit covers most patch jobs. You do not need a machine, though one can speed things up. Gather these items first.
- Needles: sharps in assorted sizes, plus a couple of embroidery needles for thicker fabrics.
- Thread: all-purpose polyester or cotton-wrapped polyester in a colour that matches the patch border or the garment.
- Thimble: metal or leather, to push the needle through dense layers.
- Pins: fine sewing pins for light fabrics, safety pins for quick holds.
- Clips: plastic sewing clips for thick edges where pins bend.
- Scissors: small sharp embroidery scissors for thread, fabric shears for trimming patch edges.
- Seam ripper: for unpicking mistakes without damaging the fabric.
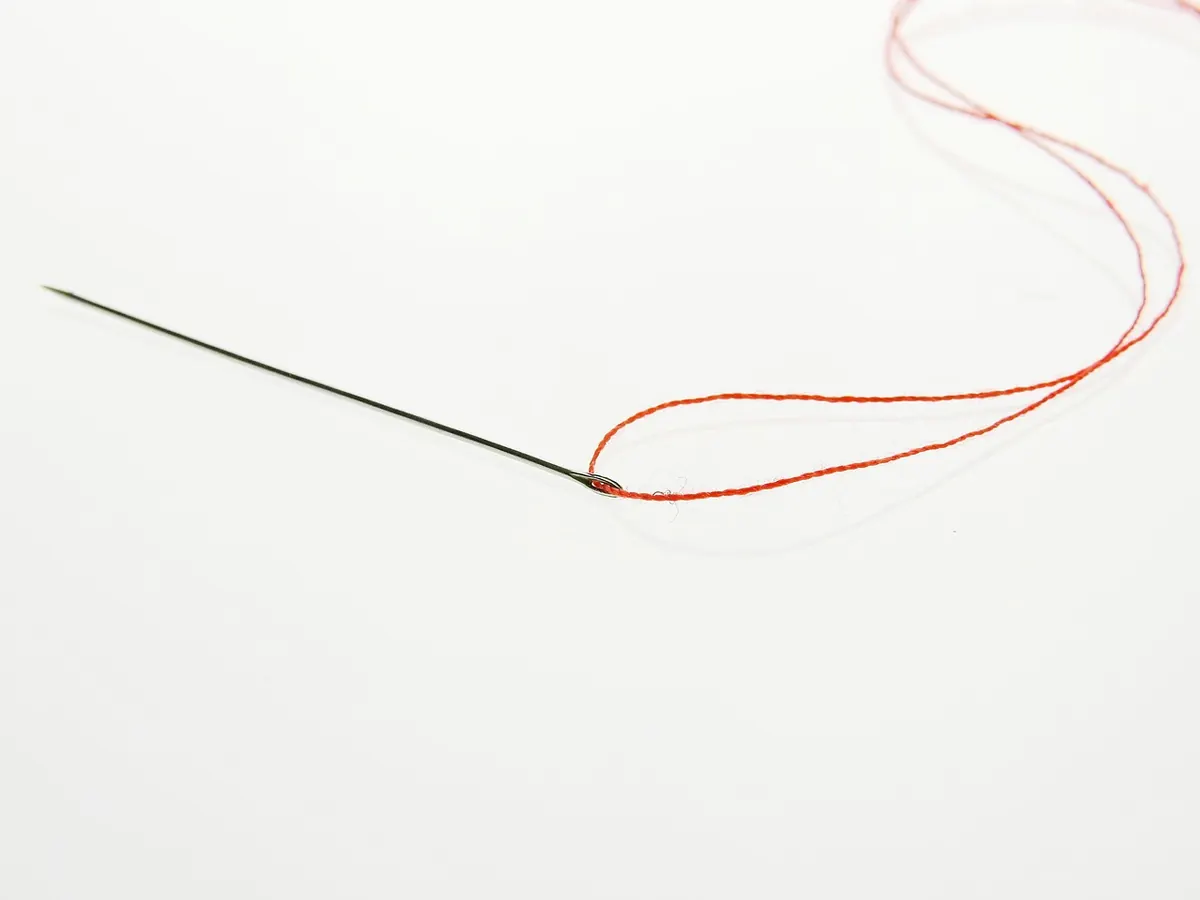
- Needle threader: helpful if your eyesight or the needle eye is small.
- Beeswax or thread conditioner: stops thread tangling and adds strength.
That is the core. Everything else is a convenience.
Needles and Thread: Match Them to the Job
Needle choice matters more than most beginners expect. A sharp needle with a fine point slides through woven cotton, denim, and twill. For tightly woven patches or thick canvas, use a heavier sharp or an embroidery needle with a larger eye. If you are sewing through leather, a leather needle with a triangular point cuts a clean hole rather than forcing the fibres apart.
Thread should be strong but not too thick. All-purpose polyester thread works for most patches. For heavy patches on denim or workwear, use a heavy-duty polyester thread. Match the thread to the patch edge if you want the stitches to blend, or choose a contrasting colour for a deliberate look. Avoid old, brittle thread from a charity shop bargain bin; it snaps and knots.
A note on thread length: cut about an arm’s length. Longer threads tangle and fray as they pass through the fabric.
Tools That Hold and Guide Your Work
Your hands need help keeping the patch in place. Pins are the classic answer, but they can distort thin fabric or leave holes. For delicate fabrics, use fine silk pins. For thick layers, use sewing clips. They grip without piercing and are easy to reposition.
A thimble is not optional if you are sewing through multiple layers. A metal thimble with dimples catches the back of the needle and lets you push with your finger rather than your fingertip. Leather thimbles are popular for hand sewing because they mould to your finger and give a better grip. If you find metal thimbles uncomfortable, try a leather one with a metal tip.
Basting is another useful skill. Use a contrasting thread to sew long, loose stitches around the patch edge before final stitching. This holds everything flat and lets you check placement before committing. Remove the basting stitches afterwards.
Pins, Clips, and Basting Compared
- Pins: fast, but can shift or prick.
- Clips: gentle on thick fabrics, good for leather and coated materials.
- Basting: slowest, but gives the most control and the flattest result.
Cutting, Pressing, and Finishing Supplies
Sharp scissors are worth the investment. Keep one pair for fabric only; cutting paper blunts them quickly. Small embroidery scissors are ideal for snipping thread close to the knot. Fabric shears handle trimming patch edges and cutting backing material.
An iron is not a sewing tool in the traditional sense, but it is essential for patches. Press the garment and the patch before you sew. Heat removes wrinkles and helps fusible patches bond. Use a pressing cloth to protect the patch and the fabric, especially if the patch has a printed design or a heat-sensitive backing. If you are using an iron-on patch, always add a few stitches around the edge. Fusible glue can fail after repeated washing, and a stitched border keeps the patch secure.
For cut edges that fray, a small bottle of fray check liquid or a dab of clear nail polish can seal the fibres. Test on a scrap first.
A Simple Stitching Plan for Beginners
If you have never attached a patch before, follow these steps.
- Wash and press the garment. A clean, flat surface makes stitching easier.
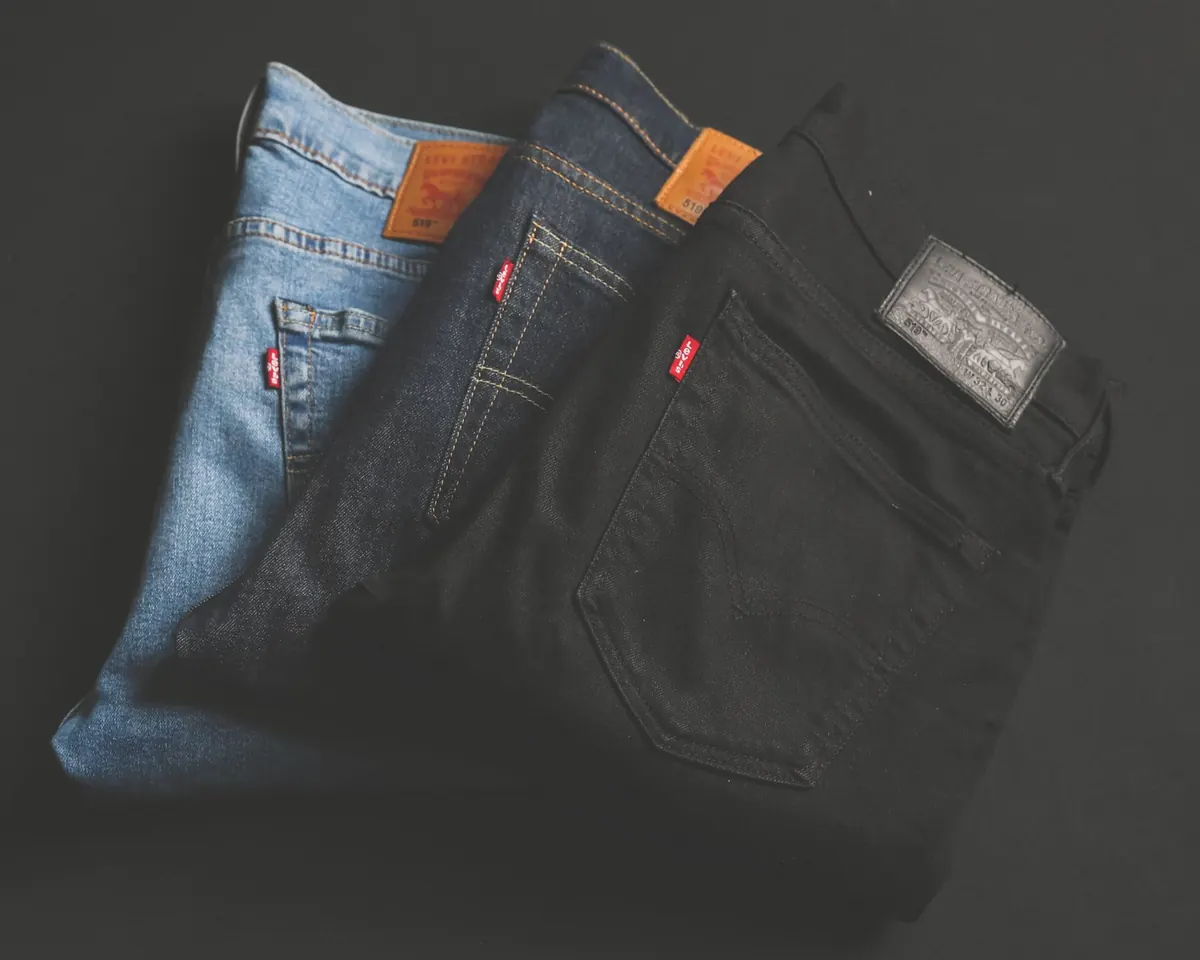
- Position the patch. Use pins, clips, or basting to hold it exactly where you want it.
- Thread your needle. Cut a length of thread, pass it through beeswax if you have it, and knot the end.
- Start from the back. Bring the needle up through the garment and the patch edge, then back down. Keep stitches small and even.
- Use a whip stitch or running stitch. A whip stitch wraps the thread over the edge for a strong finish. A running stitch goes in and out along the edge.
- Finish securely. Take two or three small stitches on top of each other, then pass the needle to the back and knot. Trim the thread.
- Press again. A final press settles the stitches and neatens the patch.
Practise on a scrap of denim and a spare patch first. Your first stitches may be uneven; that is normal. Speed comes with repetition.
Extras That Make Patch Sewing Easier
A few small additions make the job more pleasant. A needle threader saves time and frustration. Good lighting, such as a desk lamp or a head torch, helps you see dark thread on dark fabric. A magnetic pin cushion keeps pins tidy and picks up dropped needles. A small tin or pouch keeps your kit together, so you are not hunting for a thimble when you need one.
If you plan to attach many patches, consider a sewing machine with a heavy-duty needle. Machine sewing is faster and produces very consistent stitches, but hand sewing gives you control and works anywhere. Many people use a machine for straight edges and hand-sew curved or awkward shapes.
A Quick Checklist Before You Start
Before you sit down, check that you have:
- The right needle for your fabric
- Thread that matches or contrasts as you intend
- A thimble that fits
- Pins, clips, or basting thread
- Sharp scissors and a seam ripper
- An iron and pressing cloth if using fusible patches
With these supplies within reach, attaching a patch becomes a straightforward job. Take your time, keep your stitches even, and check the placement before you knot the thread. A well-sewn patch stays put through washing, wearing, and the occasional adventure.
Photo: Bru-nO / Pixabay

You Might Also Like
How UK Scout groups, Guide units and sports clubs can design, size and place custom patches that fit the uniform and last for years.
Keep iron-on patches flat and legible for years with the right washing temperature, drying habits and ironing technique — plus quick fixes for lifting edges.