Applique for Beginners: 5 Easy Projects to Try
Applique is one of the oldest ways to make plain fabric interesting, and it happens to be one of the kindest to beginners. You need a shape, a scrap of cloth, an iron and a needle. Nothing has to be perfect, either: the stitching around the edge is part of the design, and small wobbles read as handmade rather than careless. The five projects below begin with a tote bag and work up to a child's T-shirt, and every one of them uses the same handful of skills.
What you need before you start
Most of this is probably already in a sewing basket or a kitchen drawer. If you are buying, keep it cheap — applique is a good way to use up leftovers rather than an excuse to order half a metre of something precious.
- Fabric scraps: quilting cotton, felt, linen, an old shirt or a worn pair of jeans. Wash and press anything that will be washed again later, so it does not shrink away from the stitching.
- Fusible web: sold in the UK as Bondaweb and under similar names. It is a sheet of iron-on adhesive that holds your shape flat while you stitch. Follow the packet instructions, as brands differ.
- Thread: polyester all-purpose, in a colour that either matches the applique or deliberately contrasts with it.
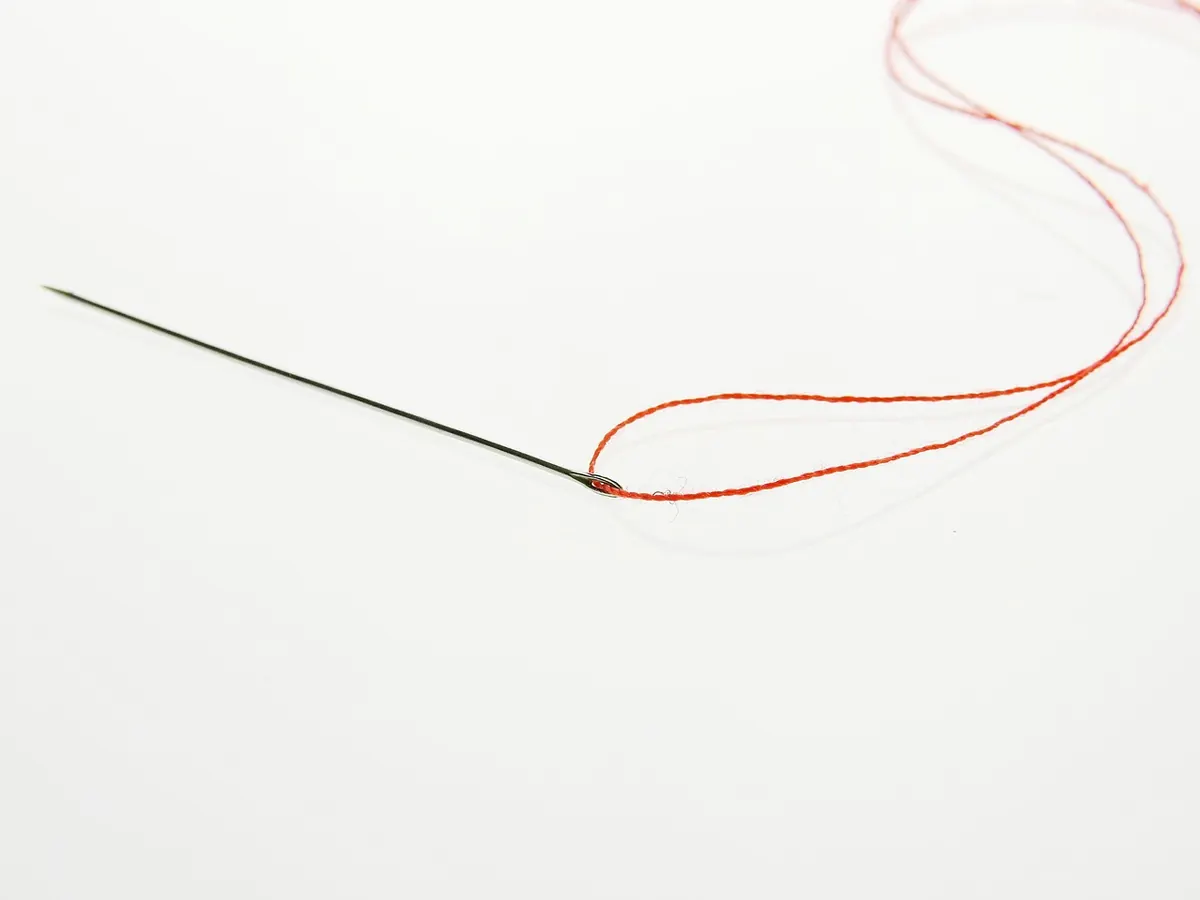
- Needles and pins: hand-sewing sharps if you are stitching by hand, or a machine with a zigzag stitch.
- Small sharp scissors, a water-soluble pen or tailor's chalk, and thin card for templates.
- An iron, a firm pressing surface and a pressing cloth.
Two techniques worth knowing
Raw-edge applique with fusible web
This is the method most people start with, and the one used below. The edge stays raw, so it may fray slightly over time — on a tote bag or a tea towel, that looks intentional.
- Draw your shape on the paper side of the fusible web. If it is a letter or anything directional, draw it in reverse.
- Iron the web, paper side up, onto the wrong side of your chosen fabric.
- Cut out the shape along your drawn line and peel off the paper backing.
- Position the shape on your project, cover it with a pressing cloth and press firmly.
- Stitch around the edge — a narrow zigzag on the machine, or a blanket stitch by hand — to secure it for good.
Turned-edge applique
Slower and tidier, and worth learning for anything washed often. Cut your shape with a seam allowance of about 5mm, pin it in place, then turn that allowance under along the marked line with the tip of your needle as you slip-stitch the edge down. The finished shape has no raw edge at all. Try it on a cushion first, where a slightly wobbly curve will not matter.
Project 1: A tote bag with one simple shape
You will need: a plain cotton or canvas tote, one fabric scrap, fusible web, thread. Choose a shape without tight curves — a leaf, a circle, a heart, a half-moon — and make it at least 5cm across, because small shapes are fiddly to hold and stitch.
Press the bag flat. Place your shape a few centimetres below the top edge, then stand back and check the position before you commit the iron. Slip a piece of card inside the bag so you do not stitch the front to the back, fuse the shape, and stitch around it. Fifteen minutes, start to finish.
Project 2: A cushion cover with an initial
A single letter is the quickest way to make a cushion look considered. Trace it in reverse onto the fusible web, fuse it to a contrast fabric and cut it out. Chunky, sans-serif letters work far better than thin script, which is difficult to cut neatly.
Apply the letter to the front panel before you sew the cover together — working on a flat rectangle is much easier than wrestling with a finished cushion. If your fabric is thin, iron a piece of lightweight interfacing behind the panel first; it stops the stitching from puckering.
Project 3: A denim patch for a stain or small tear
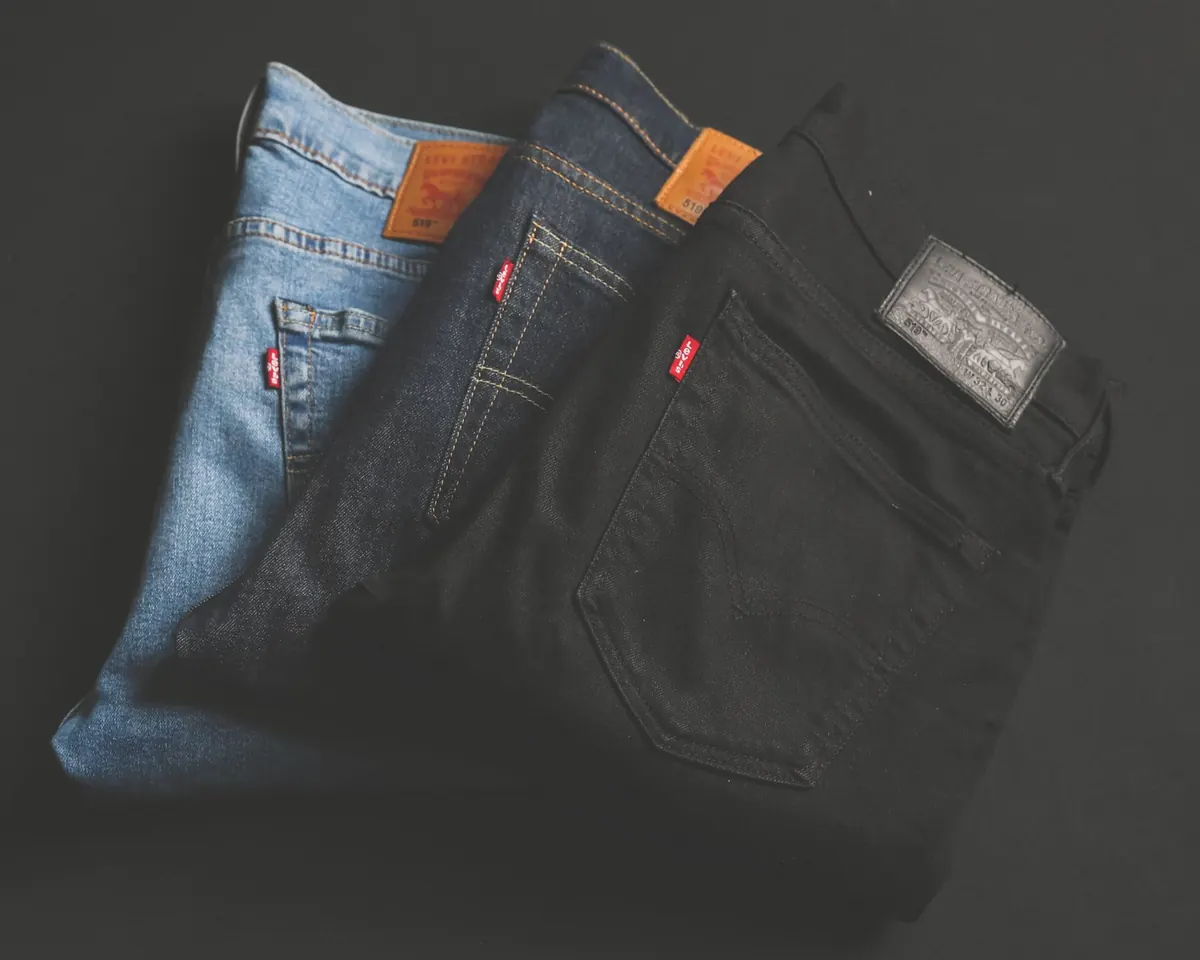
This is where applique earns its keep. Cut a patch that covers the mark with a good centimetre of overlap all round, in denim, corduroy or a bold print. Denim frays attractively, so leave the edges raw and let them do their thing.
Fuse the patch in place, pressing from the wrong side if you can reach it, then stitch around the edge with a close zigzag. For a softer, more decorative finish, work rows of running stitch across the patch by hand, boro style.
Projects 4 and 5: Two small makes for a spare hour
A tea towel with a fruit or leaf motif
Plain cotton tea towels are inexpensive and take applique beautifully. A lemon, a pear or a single leaf in two or three colours is plenty. Pre-wash and press the towel first. Tea towels go through hot washes, so stitch every edge properly rather than relying on the fusible web alone.
A child's T-shirt with a star
Knitted fabric stretches, so use a scrap of jersey — an outgrown T-shirt is ideal — and stitch with a narrow zigzag rather than a straight stitch, which snaps the first time it is pulled over a head. If you are machine stitching, slip a piece of tear-away stabiliser behind the design to stop the fabric stretching as you sew.
Finishing touches and troubleshooting
- Test your iron on a scrap first. Fusible web can scorch fabric or leave residue on the soleplate.
- Match your thread to the applique if you want small mistakes to disappear. Choose a contrast if you want the stitching to be part
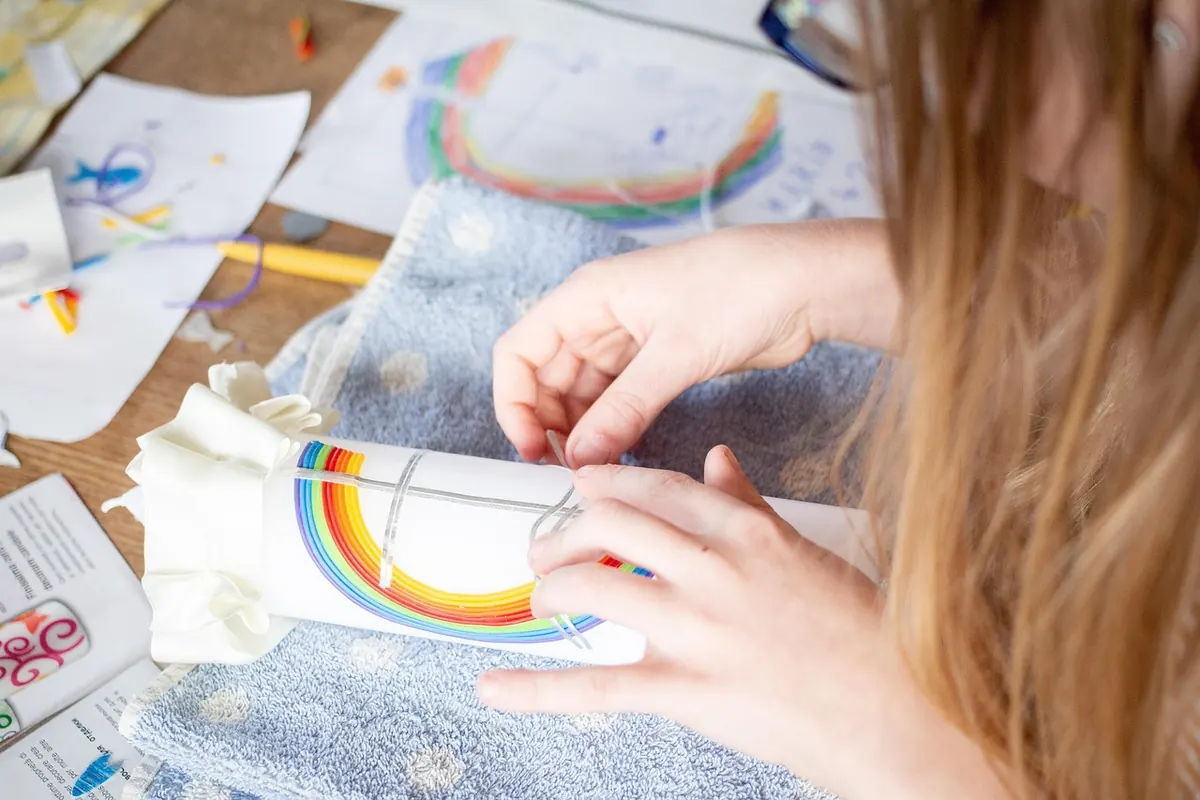
Photo: zapCulture / Pixabay

You Might Also Like
A complete list of sewing supplies for attaching patches, from needles and thread to thimbles and scissors, plus beginner-friendly tips for a neat, secure finish.
How UK Scout groups, Guide units and sports clubs can design, size and place custom patches that fit the uniform and last for years.