How to Iron On a Patch Without Burning It: A Step-by-Step Guide
Iron-on patches are one of those small jobs that can go wrong fast. Thirty seconds too long with a hot iron and a polyester jacket carries a glazed, patch-shaped scar for life. Skip the protective cloth and the adhesive smears, the patch shifts, and the corners lift at the first wash. None of that has to happen. The job comes down to three things — heat, pressure and time — and once you know how to balance them, attaching a patch takes about five minutes.
Before you start: get set up properly
Most failed patches fail before the iron is even switched on. Sort these basics first.
- Check the patch backing. Hold it up to the light. A shiny plastic film on the back means it is iron-on. A plain fabric back means it is sew-on, and no amount of heat will make the adhesive appear.
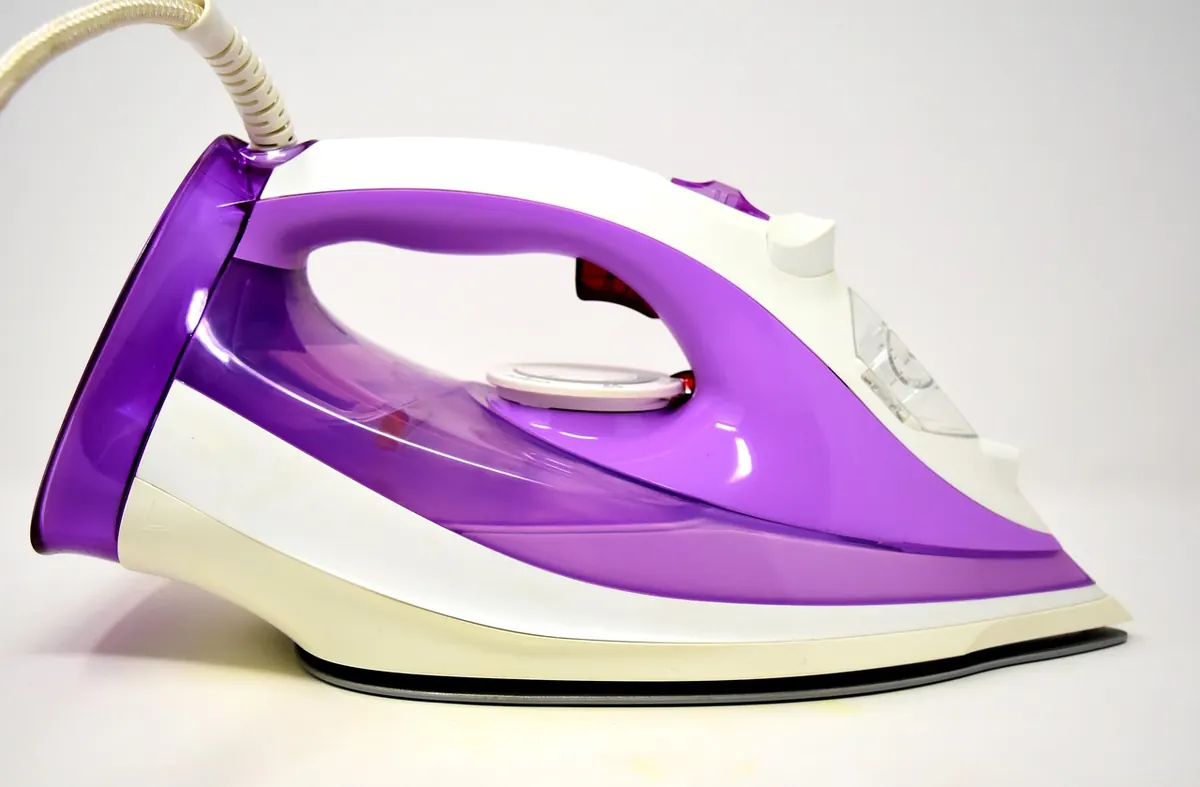
- Use a dry iron. Empty the water tank and switch steam off. Steam gets trapped under the adhesive, stops it bonding and makes scorching more likely.
- Have a protective cloth ready. More on this below — it is the single biggest difference between a neat finish and a ruined garment.
- Work on a firm surface. A solid table with a folded towel on top gives you something to press against. A soft ironing board soaks up pressure, and pressure is what drives the adhesive into the fabric.
- Hold the patch in place with a couple of pins or a strip of masking tape while you position the cloth. Remove the tape before pressing.
Match the temperature to the fabric
Patch adhesive typically activates somewhere between 120°C and 160°C, but every fabric has its own limit — and you should always follow the lower of the two. The care label inside the garment is the final word. If it says cool iron, you do not get to go hotter just because the patch asks for it.
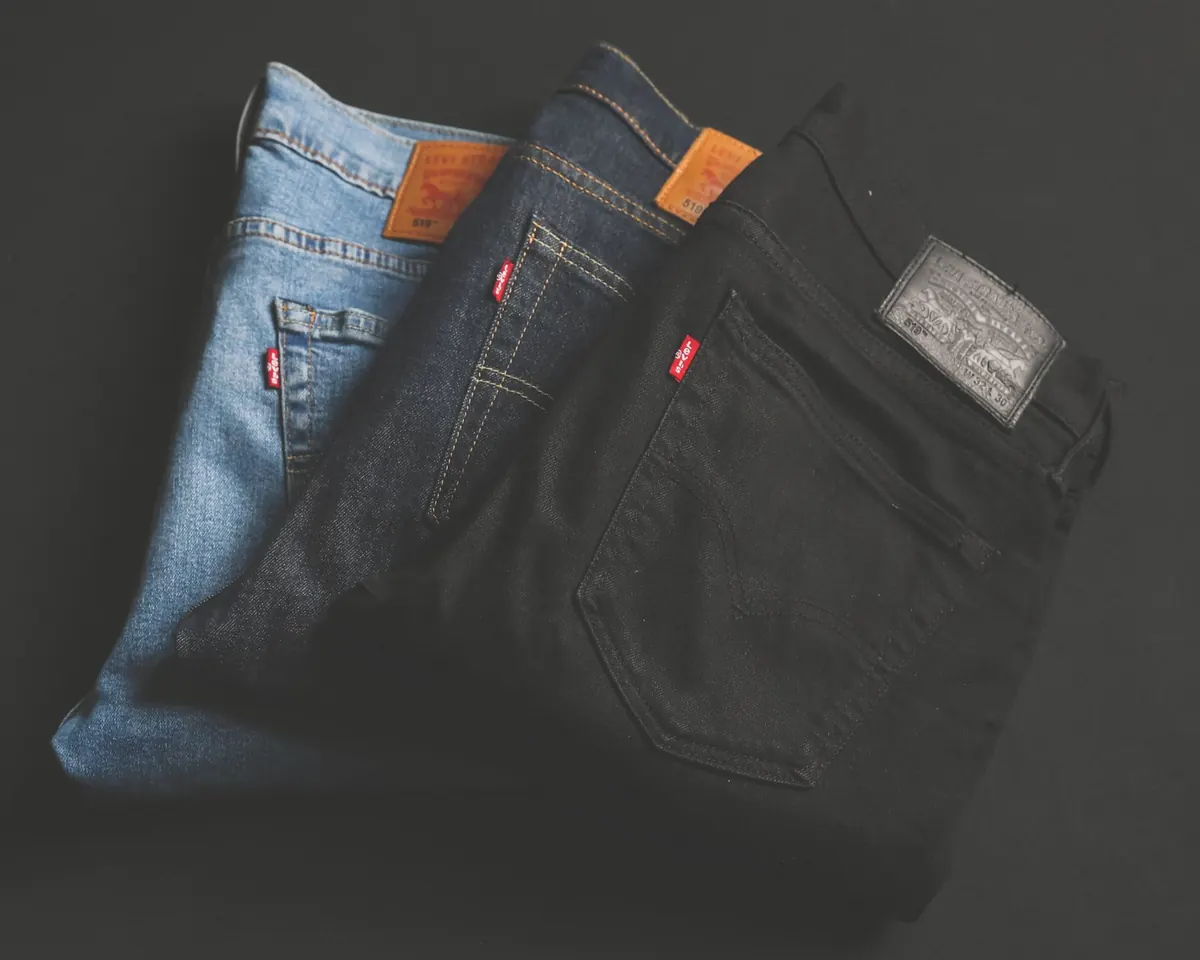
- Cotton, canvas, denim, linen: hot. Around 200°C, usually the cotton or linen setting and three dots.
- Polyester and poly-cotton blends: warm. Roughly 110–150°C, one or two dots.
- Nylon and thin synthetics: lowest setting, always through a cloth.
- Wool: medium heat, always through a cloth, and never press hard on a textured weave.
- Fleece, sportswear and technical fabrics: low heat, and check the label first. Many have coatings or membranes that heat will damage permanently.
- Leather and suede: do not iron directly. Sew the patch on or use a fabric adhesive made for leather.
If you are unsure, test on an inside hem or a hidden seam allowance first. Two minutes of testing beats a burnt collar.
The protective cloth is not optional
A thin cotton tea towel, an old pillowcase, a muslin square or a silicone baking sheet all do the same job: they spread the iron's heat evenly, keep the metal plate from grabbing the adhesive and dragging the patch out of position, and stop the iron leaving a shiny mark on the surrounding fabric.
Cut or fold the cloth so it overlaps the patch by at least 5cm on every side, and press the whole area rather than just the edges. Avoid thick bath towels, which block heat instead of conducting it, and avoid wax paper, which melts. Anything that has been through a wash with fabric softener can transfer a greasy mark, so use something clean and plain.
Step by step: attaching the patch
- Set the iron to the correct temperature for the fabric and let it reach full heat. Steam off.
- Position the patch right side up, adhesive side down against the garment. Get it straight now — once the adhesive bites, moving it leaves a residue outline.
- Lay the protective cloth over the patch, overlapping generously.
- Press down firmly and hold for 20–30 seconds on a small patch. For anything larger, work in overlapping sections of 15–20 seconds rather than one long hold.
- Press and lift. Do not slide the iron around, which smears adhesive and shifts the patch.
- Let everything cool for a minute or two before peeling back the cloth. The adhesive sets as it cools, so checking too early tells you nothing.
- Turn the garment inside out and iron the reverse side of the same area for 10–15 seconds. This step is the one most people skip, and it is the one that locks the bond in.
- Lift an edge with a fingernail. If it moves, cover it again and press for another 15 seconds. Leave the garment for 24 hours before washing.
How to avoid scorch marks
Scorching comes from heat plus time plus direct contact. Brown or yellow discolouration, a glazed shiny patch on synthetics, or a faint burning smell all mean the iron was too hot or sat in one place for too long.
Keep the iron moving between presses — park it on a heatproof rest, never on the patch. Work in short overlapping sections so no single spot takes more than about 20 seconds of heat. Keep steam off, because damp fabric scorches faster than dry. And if you are pressing a synthetics-heavy garment, drop the temperature by a setting and add another 10 seconds of pressing time rather than turning the heat up.
If a light scorch does appear on cotton, let the garment cool, do not rub it, and try a gentle wash with an oxygen-based stain remover. Melted synthetic fibres, unfortunately, cannot be reversed, which is why testing on a hidden seam first is worth the effort.
If the patch still will not hold
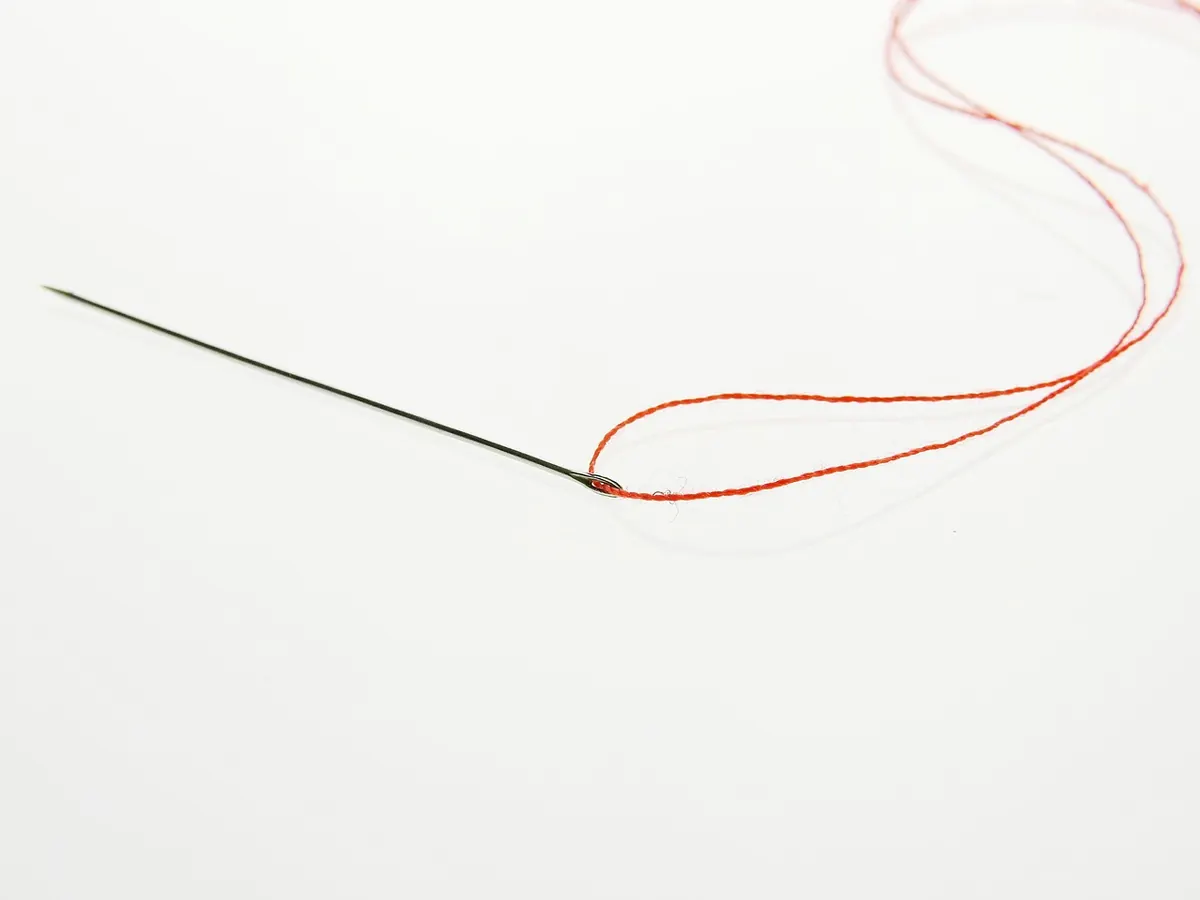
Some fabrics simply are not adhesive-friendly. Fleece, mesh jerseys, waterproof shells and anything with a slick coating give the glue very little to grip. In those cases, stitching around the edge with a matching thread is the reliable answer, and a few stitches at each corner will rescue a patch that keeps lifting on a jacket that gets heavy wear.
Large patches often fail in the middle, because a domestic iron cannot deliver even heat across a big area. Press the middle and edges as separate sections, use the reverse-side press, and consider a few discreet stitches for anything wider than a hand span. Sleeves, knees and hats need a rolled towel or a folded cloth pushed inside the garment so you have something firm to press against.
Looking after a patch once it is on
Turn garments inside out before washing, use a cool or 30°C cycle, and skip the fabric softener, which leaves a film that weakens adhesive. Air dry where you can, or use a low tumble setting. If a corner does lift after a few months, do not reach for the glue. Cover it with the cloth, press for 20 seconds, press from the reverse, and let it cool. Heat, pressure and time — in that order, every time.
Photo: Alexas_Fotos / Pixabay

You Might Also Like
A complete list of sewing supplies for attaching patches, from needles and thread to thimbles and scissors, plus beginner-friendly tips for a neat, secure finish.
How UK Scout groups, Guide units and sports clubs can design, size and place custom patches that fit the uniform and last for years.