How to Sew a Patch on by Hand: A Step-by-Step Tutorial
How to Sew a Patch on by Hand: A Step-by-Step Tutorial
Some patches need a machine; most are easier by hand. An embroidered badge on a denim jacket, a name patch on a work shirt, a camp blanket that has been collecting badges for years — these are jobs where a needle and thread beat a sewing machine, because you can feel the layers as you work, follow a curve, and stop before anything puckers. Hand sewing also reaches places a machine cannot: around a pocket flap, inside a sleeve, across a thick merrowed border.
A standard patch takes about twenty minutes. Done well, it will outlast the garment around it. Here is the method, from choosing your needle to the final press.
What You'll Need
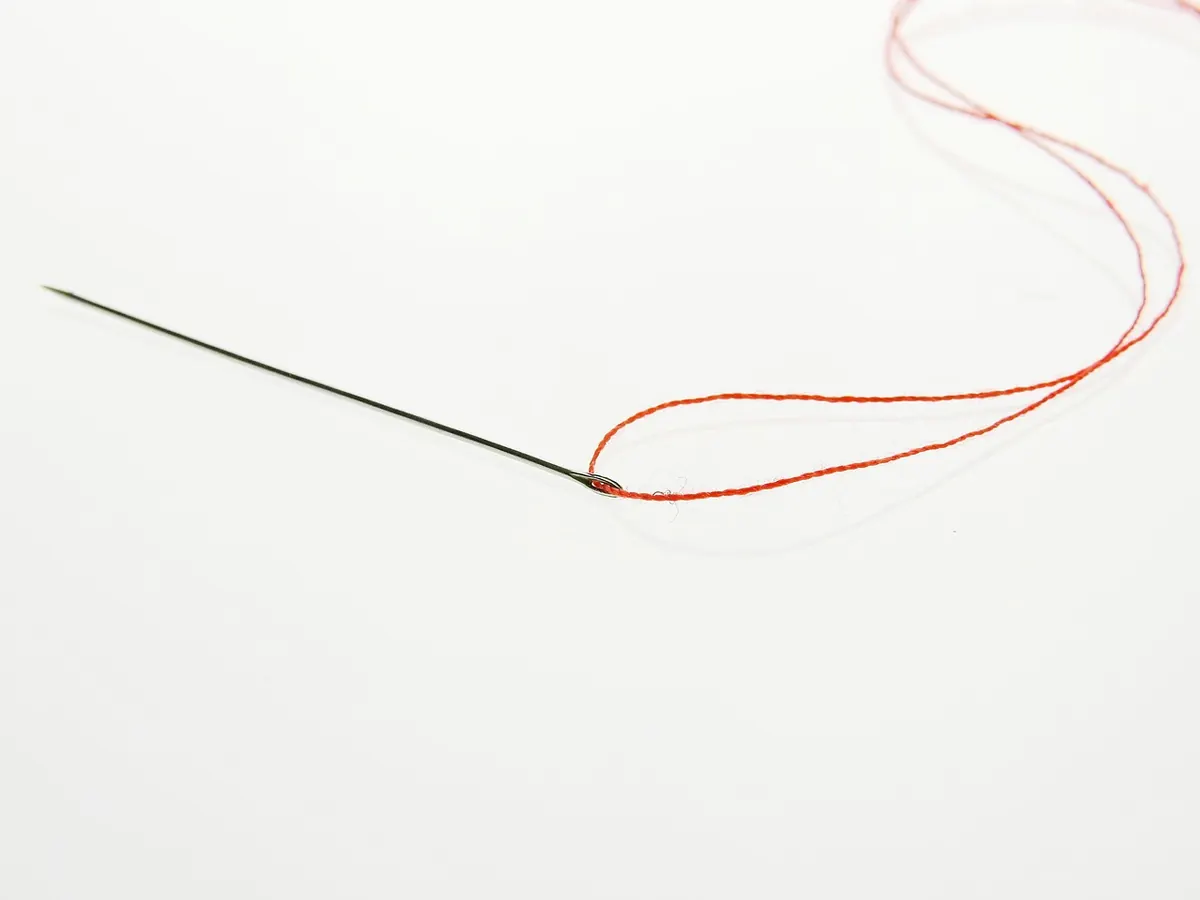
- Hand-sewing needles — a mixed pack of sharps, sizes 3 to 9, covers almost everything
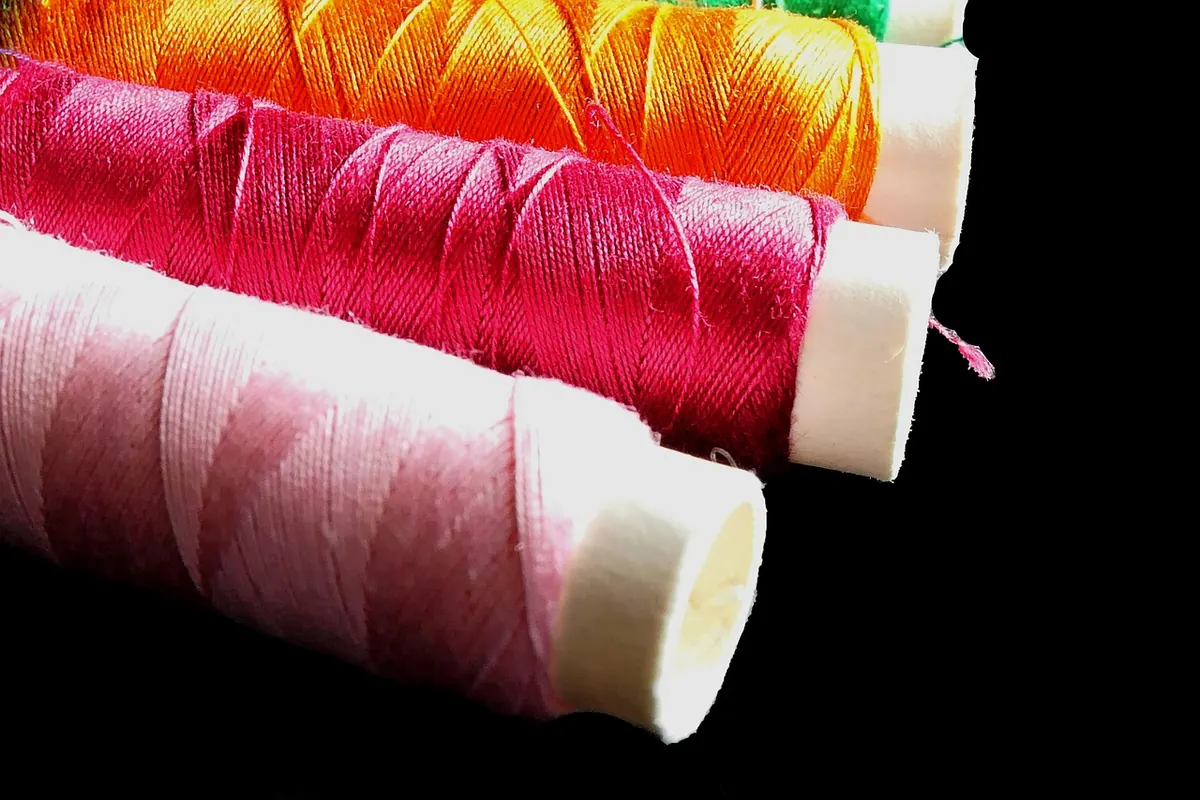
- All-purpose polyester thread in a colour matched to the patch border or the garment
- Small sharp scissors or thread snips
- A thimble that fits your middle finger
- Pins, or sewing clips if the fabric marks easily
- Tailor's chalk or a water-soluble fabric pen
- An iron and a pressing cloth
- Optional: a seam ripper for removing mistakes or old patches
- Optional: a needle threader if your eyes or the needle's eye are giving you trouble
Fusible bonding web is optional. It holds a patch steady while you stitch, but it should not replace the stitching — the corners lift after a few washes.
Choosing the Right Needle and Thread
Needle choice matters more than most people expect. A needle that is too fine bends; one that is too thick leaves holes you can see.
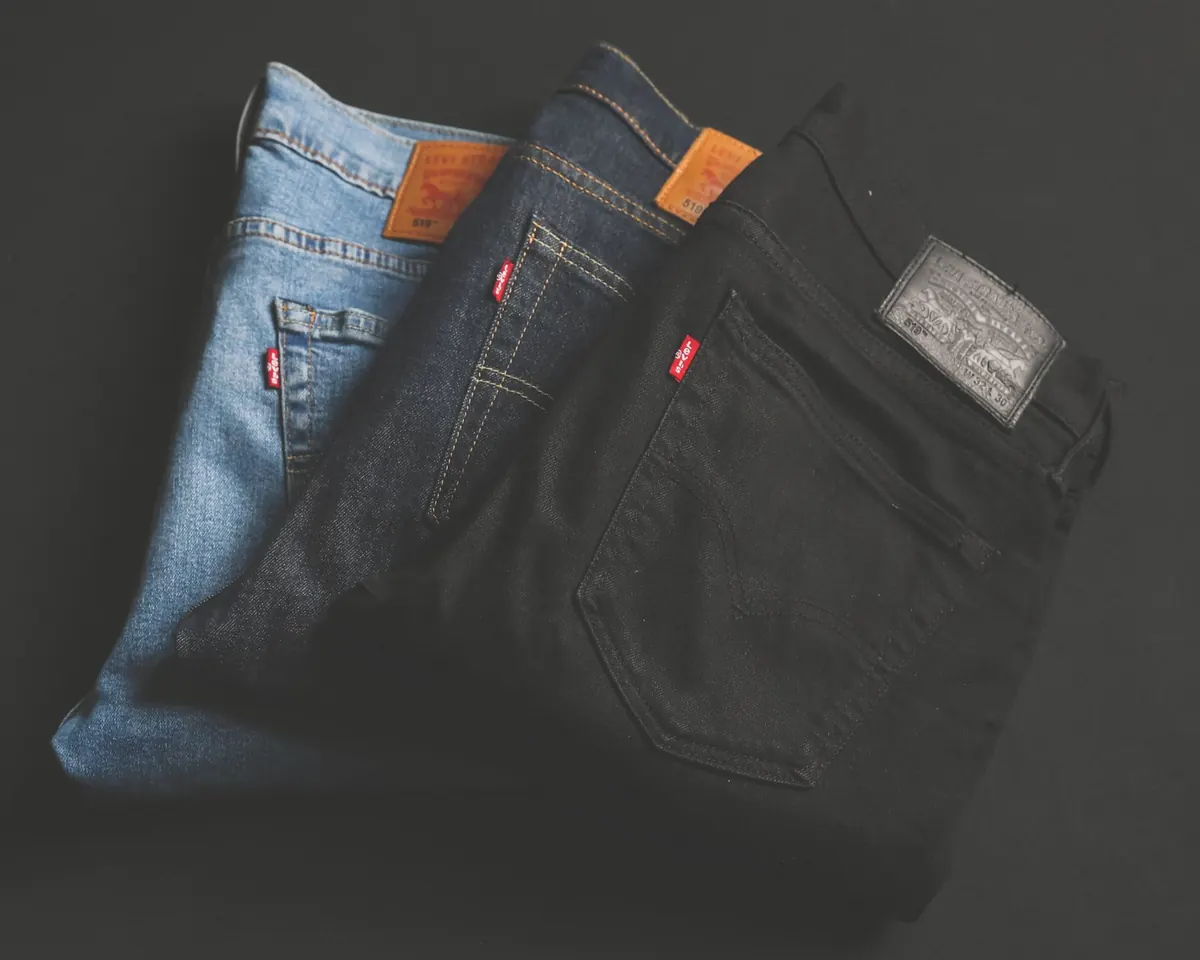
A sharp in size 7 to 9 handles cotton, twill, poly-cotton and most knits. For denim, canvas or heavy workwear, step up to a size 3 or 4 sharp, or a dedicated denim hand needle. For fine fabric — silk, lightweight shirting — use a sharp in size 9 to 10, or a betweens needle if you prefer a shorter needle for delicate control. Stretchy knits can be sewn with a sharp if you work slowly, but a ballpoint hand needle slips between the knit loops instead of piercing them, which prevents runs.
For thread, all-purpose polyester or polyester-wrapped cotton is the practical choice. Match it to the patch border for an invisible repair, or choose a contrasting colour if you want the stitching to look deliberate and decorative. A 24-inch length is usually plenty; longer thread tangles, frays and knots. If you are sewing through several thick layers, you can double the thread, but keep the needle size in mind: two strands of heavy thread in a small needle will fight you the whole way.
Preparing the Patch and Garment
Before you thread a needle, prepare both pieces. If the garment is washable, wash and dry it first so any shrinkage happens before the patch is attached. Press the patch and the area where it will sit. A patch sewn onto a wrinkled shirt will always look slightly crooked, no matter how careful your stitches are.
Placement is easier if you wear the garment or lay it flat and measure. For a name patch on a work shirt, a common placement is 2 to 3 inches below the shoulder seam and 1 to 2 inches from the front placket, but check the uniform guidelines if there are any. For a scout badge, follow the official placement chart. For a decorative patch on a jacket back, mark the centre with tailor's chalk and measure out from there. Pin or clip the patch in place, then step back and look at it from a distance before you sew.
Step-by-Step: Sewing the Patch by Hand
- Thread the needle. Cut 18 to 24 inches of thread. Pass it through the needle and knot one end with a small, neat knot. If the fabric is heavy, a double knot keeps the thread from pulling through.
- Anchor the thread. Start from the inside of the garment or from under the patch so the knot is hidden. Bring the needle up through the garment and the patch edge. If the patch is already fused, slide the needle between the patch and the fabric.
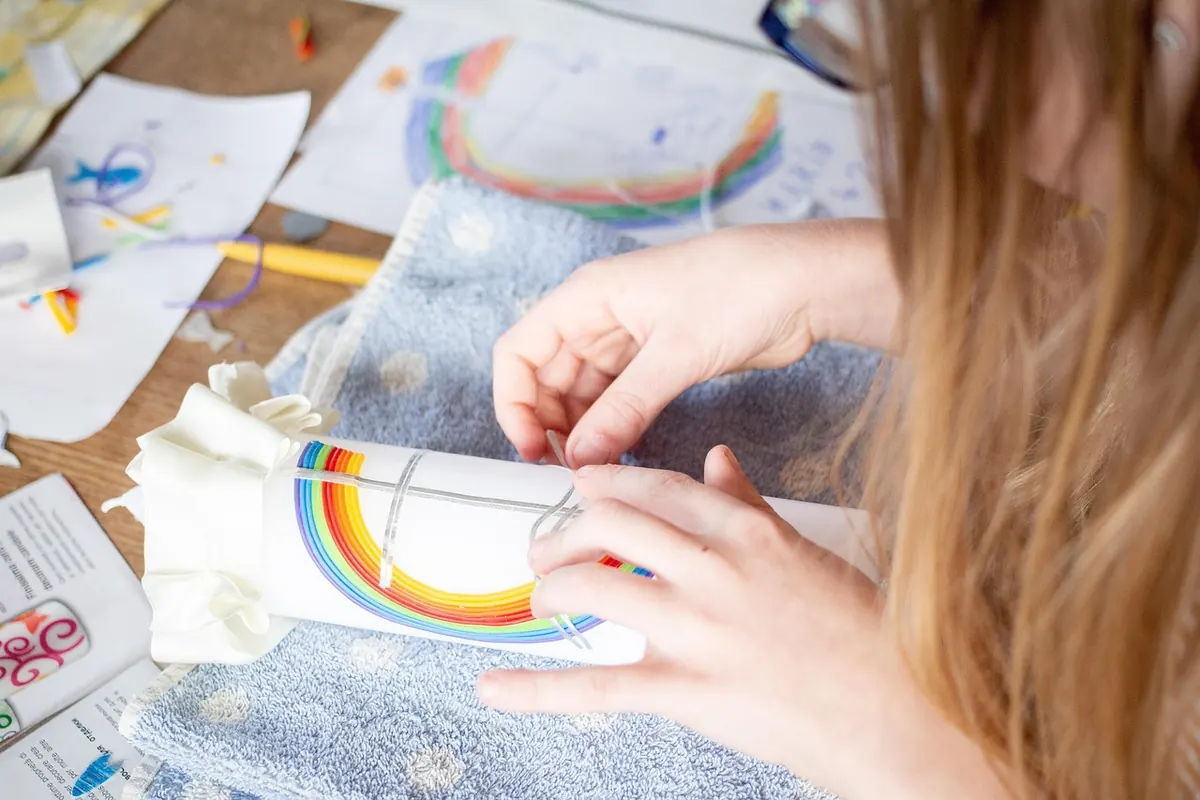
- Begin the whipstitch. Bring the needle up through the patch edge from the back. Pull the thread over the edge and take a small stitch into the garment right beside the patch, about 1/8 inch ahead. Bring the needle back up through the patch edge. You are wrapping the thread over the border, catching both patch and garment.
- Keep the stitches even. Work around the patch with the same spacing and tension. Do not pull hard enough to dimple the fabric. At a corner, take two stitches close together or pivot the needle to turn the corner cleanly.
- Check as you go. Every few inches, turn the garment over. The back should show small, tidy stitches, not big loops or knots. If the patch shifts, stop and re-pin it before continuing.
- Finish securely. After the last stitch, take the needle to the inside of the garment. Make two small backstitches in the fabric beneath the patch, then tie a knot close to the surface. Bury the knot by inserting the needle through the fabric and out an inch away, then trim the thread.
- Press the finished patch. Use an iron and pressing cloth. Press from the inside if possible, or place the cloth over the patch and press gently. Steam helps the stitches settle into the fabric.
Alternative: Slip Stitch for a Nearly Invisible Finish
If your patch has a folded edge or no thick merrowed border, a slip stitch can hide the thread almost completely. Knot the thread under the patch. Bring the needle up through the garment just under the patch edge. Take a tiny stitch into the patch edge, then insert the needle back into the garment at the same point. Slide the needle inside the patch fold for about 1/4 inch and come out again. Repeat around the patch. Use thread matched to the garment, and keep the stitches small. This method is slower than a whipstitch, but it is ideal for delicate fabrics and patches that should look original to the garment.
Optional: Using Fusible Web Without Regret
Fusible web can make hand sewing easier, especially on small patches or slippery fabrics. Cut a piece slightly smaller than the patch so the adhesive does not gum up your needle. Follow the package instructions, press with a hot iron and let it cool completely before you stitch. The fusible web holds the patch flat and stops it from shifting, but it is not a permanent fix on its own. Always sew around the perimeter. On stretchy fabrics, fusible web can make the area stiff; use a lightweight version and test it on a scrap first.
Common Mistakes to Avoid
- Using thread that is too long. It tangles, knots and weakens as it frays. Work with 18 to 24 inches at a time.
- Spacing stitches too far apart. Wide stitches let the patch edge catch on things and lift. Aim for 1/8 inch spacing on most patches.
- Pulling every stitch tight. Tension puckers the garment and makes the patch look dented. The thread should lie flat, not bite into the fabric.
- Sewing a pocket shut. Slide your hand inside pockets, sleeves and linings before you stitch. A few seconds of checking saves a lot of unpicking.
- Using the wrong needle. A dull or too-thin needle makes the job harder and can damage the fabric. Change needles if one bends or skips.
- Skipping the final press. Pressing blends the stitches into the fabric and gives the patch a professional finish.
Care, Repair and Removal
A hand-sewn patch will last for years if you treat it well. Wash the garment inside out on a gentle cycle, and avoid high heat in the dryer, which can shrink the patch or soften old adhesive. If a stitch breaks, re-anchor it with a few matching stitches before the loose thread becomes a snag.
To remove a patch, work from the inside with a seam ripper. Cut a stitch every inch or so, then pull the thread from the front. If the patch was fused, warm it gently with an iron or a hair dryer to soften the adhesive, then peel it back slowly. Remove sticky residue with a little isopropyl alcohol on a cloth, test on a hidden area first, then wash and press the garment.
Hand sewing a patch is not a race. The slow, deliberate work is exactly what makes the result strong, tidy and worth wearing. Once you have done one, the next badge, name tape or repair will take half the time.
Photo: moritz320 / Pixabay


You Might Also Like
A complete list of sewing supplies for attaching patches, from needles and thread to thimbles and scissors, plus beginner-friendly tips for a neat, secure finish.
How UK Scout groups, Guide units and sports clubs can design, size and place custom patches that fit the uniform and last for years.